Unlocking Vital Resources: Your Guide to the RE9 Monitor Control Room Safe
In the grim, atmospheric world of Resident Evil Requiem (RE9), every resource counts. Surviving the horrors Grace faces requires more than just sharp shooting; it demands shrewd resource management, keen observation, and the ability to solve challenging puzzles. Among the most crucial of these is the RE9 Monitor Control Room Safe. This isn't just another optional side quest; it's a vital checkpoint for securing essential items that can dramatically influence your chances of survival. Missing this safe could mean the difference between life and a horrifying death. This comprehensive guide will walk you through its exact location, the elusive codes for different difficulties, and why its contents are absolutely indispensable for your journey through the ARK.
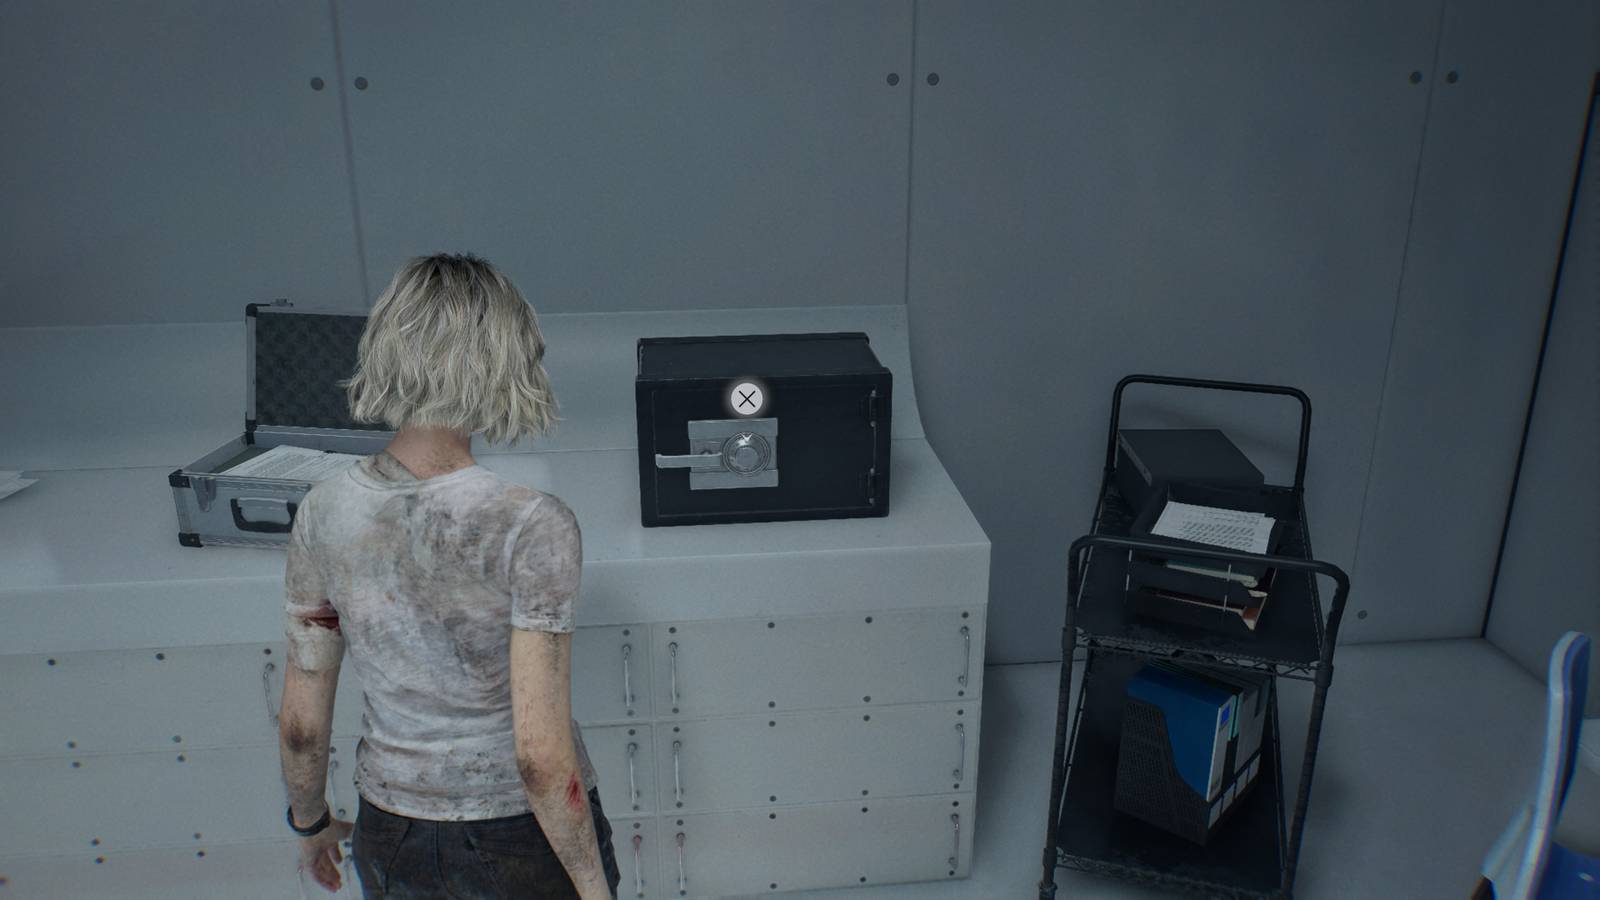
Locating the Lifeline: Where to Find the RE9 Monitor Control Room Safe
Navigating the treacherous environments of Resident Evil Requiem can be a dizzying experience, but knowing where to find key objectives is half the battle. The RE9 Monitor Control Room Safe is strategically placed within the game's mysterious area known as the ARK. Specifically, you'll discover it conveniently situated right beside a save point. This placement isn't a coincidence; it's a subtle nod from the game designers, signaling that this location is important and offering you a chance to prepare before or after tackling the safe's challenge.
While the immediate vicinity of the safe itself is refreshingly free of direct enemy encounters, don't let your guard down entirely. The path leading to the safe's solution, and by extension, its treasures, is far from peaceful. Players, embodying Grace, will need to confront and overcome a significant number of terrifying Lickers to uncover the clues necessary to unlock it. These agile, blind creatures are known for their razor-sharp claws and precise hearing, making any encounter a tense affair. Our advice? Come prepared. Stock up on ammunition, healing items, and perhaps a powerful weapon to dispatch these threats efficiently. Clearing the path to the solution ensures you can approach the safe with a clear mind and an intact inventory, ready to reap its rewards.
Unlocking the Mystery: RE9 Monitor Control Room Safe Codes & Solutions
Resident Evil games are renowned for their intricate puzzles, and the RE9 Monitor Control Room Safe is no exception. However, there's a crucial layer of complexity here: the safe codes are difficulty-dependent. This means the solution you find for a casual playthrough won't work if you're challenging yourself on a higher setting. This design choice encourages multiple playthroughs and rewards players for adapting to the game's increased demands.
Cracking the Code for Casual & Standard Difficulties (Modern/Classic)
For players enjoying Resident Evil Requiem on the more accessible Casual or Standard difficulties (whether in Modern or Classic mode), the safe code for the Monitor Control Room is a specific three-part combination. Remember, precision is key when inputting these old-school dial safe codes:
- First, turn the knob left until it reaches 50.
- Next, turn the knob right until it reaches 60.
- Finally, turn the knob left until it reaches 80.
Once you've accurately input this sequence, the safe will click open, revealing its precious contents. Take a deep breath – you've earned it!
The Elusive Insanity Difficulty Code
For the most hardened survival horror veterans embarking on the grueling Insanity Difficulty, the code for the RE9 Monitor Control Room Safe is different. As of now, the exact code for this highest difficulty is "coming soon." This often means players on Insanity will need to delve even deeper into the game's world, scrutinizing every document, observing every environmental detail, and potentially solving more complex associated puzzles to uncover the unique combination. In previous Resident Evil titles, "Insanity" codes often rely on abstract clues, subtle visual cues, or even sound puzzles, pushing players to their absolute limits. Keep a sharp eye out for any unusual numbers, symbols, or sequences within the ARK that might hold the key to unlocking this safe on your most challenging run.
The Prize: What's Inside the RE9 Monitor Control Room Safe?
So, you've battled Lickers, meticulously searched for clues, and flawlessly entered the code. What invaluable items await Grace within the RE9 Monitor Control Room Safe? The contents are carefully curated to provide immediate and significant strategic advantages, helping you navigate the perilous journey ahead:
- 1 x Bottle of Acid: This isn't just any acid; it's a versatile and potent crafting component. In Resident Evil Requiem, acid can often be used to create powerful, specialized ammunition types (like corrosive rounds that strip away enemy armor) or to craft devastating offensive items such as acid bombs. For Grace, having this bottle means access to increased firepower or tactical options against tougher enemies, including bosses. Its utility can't be overstated when facing overwhelming odds.
- 1 x Empty Bottle: While seemingly innocuous, an empty bottle is a canvas for potential. These are crucial for mixing various concoctions, whether it's creating powerful healing serums, crafting specific chemical agents required for puzzles, or even acting as a container for valuable liquids found elsewhere. Resource scarcity is a hallmark of survival horror, and an empty bottle provides flexibility and potential for future resource generation, allowing Grace to adapt to different situations.
- 1 x Med Injector: The Med Injector is arguably the most immediately impactful item from the safe. Unlike standard first-aid sprays, a Med Injector typically provides a substantial, often instant, burst of health recovery. In the heat of a critical battle or when Grace is on the brink of death, a Med Injector can be a literal lifesaver, pulling her back from the abyss and allowing her to continue the fight. Its inclusion underscores the safe's role as a vital supply cache.
Each of these items synergizes to provide a well-rounded boost to your survival capabilities. They're not mere trinkets but essential tools that align perfectly with Resident Evil Requiem's emphasis on resource management and strategic combat.
Strategic Advantage: Why the RE9 Monitor Control Room Safe is a Must-Get
The RE9 Monitor Control Room Safe isn't just an optional treasure chest; it's a critical component of a successful playthrough. The most significant reason to prioritize it? You can miss these safes once you proceed. Resident Evil Requiem, like many games in its genre, often features "point of no return" moments. If you progress too far without opening the safe, you might find yourself locked out, permanently forfeiting its contents.
Here's why missing it is such a significant blow to Grace's journey:
- Resource Scarcity: In RE9, every bullet, every healing item, and every crafting component is precious. Forfeiting the Acid, Empty Bottle, and Med Injector means Grace will be at a distinct disadvantage, particularly on higher difficulties where enemies are tougher and resources are scarcer.
- Strategic Depth: The items offer tactical flexibility. The Acid provides offensive options, the Empty Bottle allows for future crafting, and the Med Injector is an invaluable emergency heal. Without them, your strategic choices in combat and resource management become severely limited.
- Pacing and Empowerment: Early access to these items can smooth out difficulty spikes, empower Grace to tackle challenges more confidently, and give players a greater sense of control over their progression. Missing them can lead to frustrating bottlenecks later in the game.
To ensure you don't miss out, adopt a thorough exploration mindset. Whenever you encounter a locked safe or a puzzle in RE9, make it a priority. Scour every room, read every document, and investigate every suspicious detail. The clues for safe codes are often embedded within the environment, sometimes in plain sight, other times subtly hidden. These "mini puzzles," as the game describes them, are designed to reward diligent players. For Grace, taking the time to solve the RE9 Monitor Control Room Safe ensures she has the tools necessary to face the unrelenting horrors that lie ahead.
Conclusion
The RE9 Monitor Control Room Safe stands as a testament to Resident Evil Requiem's commitment to challenging and rewarding players. Its strategic location within the ARK, the difficulty-dependent codes, and its truly vital contents make it a puzzle you simply cannot afford to ignore. By understanding its location, preparing for the necessary Licker encounters, and meticulously inputting the correct code for your chosen difficulty, Grace will acquire invaluable resources that significantly bolster her chances of survival. Don't let these crucial items slip through your grasp; make opening the Monitor Control Room Safe a top priority on your harrowing journey through the world of Resident Evil Requiem. Your survival might just depend on it!