Resident Evil Requiem: Master the Monitor Control Room Safe and Secure Vital Resources
In the chilling world of Resident Evil Requiem (RE9), survival hinges on cunning, courage, and meticulous resource management. As players step into the shoes of Grace, every bullet, every healing item, and every crafting component can be the difference between life and a gruesome demise. Among the many challenges and secrets awaiting discovery, the Re9 Monitor Control Room Safe stands out as a crucial puzzle, promising invaluable supplies for those brave enough to crack its code. This comprehensive guide will arm you with everything you need to locate, unlock, and benefit from this essential cache, ensuring Grace is always prepared for the horrors that lurk around every corner.
Safes in Resident Evil games are more than just locked boxes; they are mini-puzzles that test your observational skills, your willingness to explore, and sometimes, your nerve. The Monitor Control Room Safe in RE9 is no exception, rewarding diligent players with items that can significantly impact their journey through the game's terrifying narrative. Missing out on these resources could put you at a severe disadvantage, so understanding its location, the varying codes, and its precious contents is a must for any aspiring survivor.
Locating the Elusive Re9 Monitor Control Room Safe
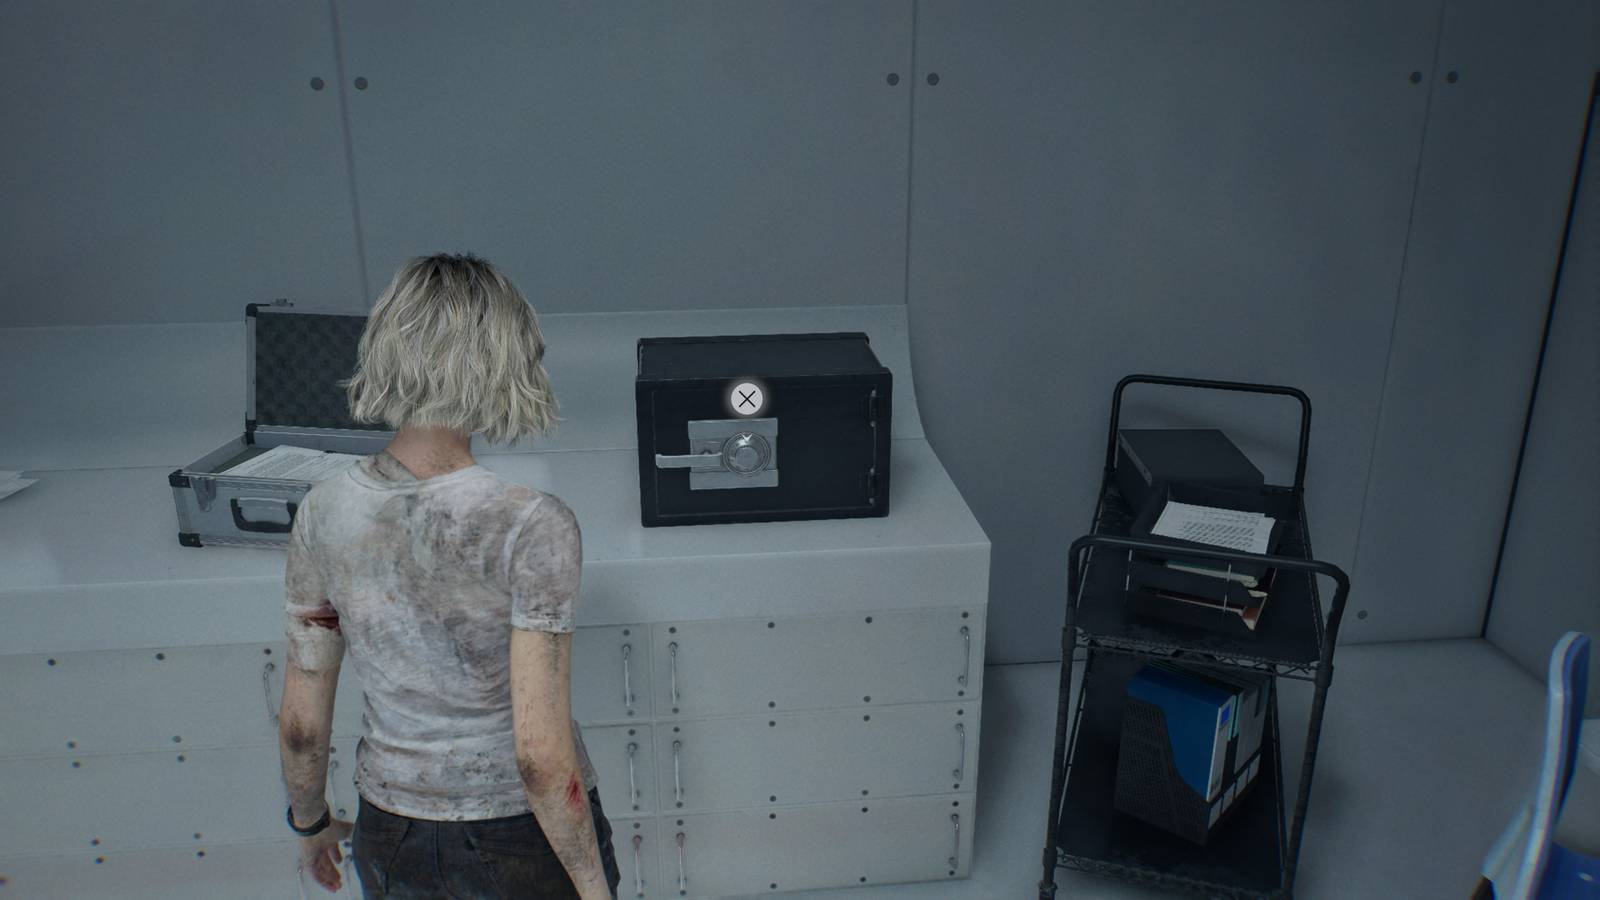
First things first: you can't unlock a safe if you can't find it. Fortunately, the Re9 Monitor Control Room Safe isn't hidden in an obscure corner of the map, but rather strategically placed to offer a moment of respite and reward. You'll find this vital safe conveniently located inside the ARK, nestled right beside a save point. This placement is a clear indicator from the developers: take a breather, save your progress, and then tackle this small but significant challenge.
The ARK itself is often a hub of activity, a place where players might return to process information or simply regroup. Its proximity to a save point means you can attempt the safe multiple times without fear of losing progress if you misremember a code (though with our guide, that shouldn't be an issue!). However, don't let the "safe zone" vibe of the save point fool you into thinking the path to the solution is easy. While the immediate area around the safe might be clear of direct threats, obtaining the clues necessary to open it requires navigating some of RE9's most dangerous encounters.
Navigating the ARK and Surviving Licker Encounters
The reference context hints at a significant challenge tied to the safe's solution: "you do need to fight a lot of lickers to get the solution to this safe." Lickers are iconic, terrifying creatures in the Resident Evil universe, renowned for their heightened hearing, razor-sharp claws, and exposed brains. They are a formidable foe, often appearing in groups, and can quickly overwhelm an unprepared player.
- Licker Tactics: When confronting Lickers, stealth is often your best friend. They are blind but react violently to sound. Moving slowly and deliberately can allow you to bypass them entirely or set up ambushes. If combat is unavoidable, aim for their exposed brain or use powerful, area-of-effect weapons like shotguns to thin their numbers quickly. Flashbangs can also temporarily stun them, providing a crucial window for attack or escape.
- The Link to the Safe: The implication here is that the document, memo, or environmental clue containing the safe's code (or a hint towards it) is located in an area heavily patrolled by these agile monstrosities. This means players must conquer these intense encounters, or cleverly evade them, to retrieve the vital information needed to unlock the Re9 Monitor Control Room Safe. This adds another layer of challenge and satisfaction to solving the puzzle, making the eventual reward feel even more earned.
Decoding the Re9 Monitor Control Room Safe: Codes for Every Difficulty
One of the most crucial pieces of information for the Re9 Monitor Control Room Safe is that its codes are not static. Resident Evil Requiem, much like its predecessors, offers varying difficulties, and these often impact puzzle solutions to provide a fresh challenge for seasoned players. Therefore, knowing your current difficulty setting is paramount before you even attempt to input a combination. For a comprehensive overview of the safe's specifics, be sure to check out our detailed guide: RE9 Monitor Control Room Safe: Location, Codes & Contents Guide.
The Art of Safe Cracking in Resident Evil Requiem
The safes in RE9 typically operate with a dial mechanism, requiring precise turns to specific numbers. Patience and a steady hand are key. Listen for the distinct click as you pass each number, and pay close attention to the direction of your turns.
- Casual & Standard (Modern/Classic) Difficulty Codes:
- Turn the knob towards the LEFT until you reach 50.
- Then, turn the knob towards the RIGHT until you reach 60.
- Finally, turn the knob towards the LEFT until you reach 80.
- Once these inputs are complete, the safe will click open, revealing its precious contents.
- Insanity Difficulty Codes:
- At the time of writing, the code for Insanity Difficulty is still "coming soon." This often means developers intend for this most challenging mode to require players to genuinely discover clues or face unique, more complex solutions. If you're tackling Insanity, be extra vigilant for obscure documents, hidden messages, or environmental details that might hint at a different combination. The added difficulty is part of the survival horror experience!
- Pro Tip: Always double-check any in-game notes or journals you find, especially after challenging encounters or in areas that seem to hint at a puzzle. The solution for Insanity might be well-hidden, requiring keen observation skills.
What Treasures Await? Re9 Monitor Control Room Safe Contents & Their Value
Why go through the trouble of battling Lickers and cracking codes? Because the contents of the Re9 Monitor Control Room Safe are genuinely valuable and can significantly enhance Grace's chances of survival. These aren't just arbitrary items; they are carefully selected resources that fit perfectly into the game's crafting, combat, and healing mechanics. Don't miss out on these key items that can turn the tide in your favor; read more about their importance in our dedicated article: Don't Miss RE9's Monitor Control Room Safe: Get Key Items.
Inside the safe, you will discover:
- 1 x Bottle of Acid: A versatile and often scarce crafting component. Acid is typically used for creating powerful corrosive agents, enhancing specific ammunition types, or solving environmental puzzles that require breaking down barriers. Having an extra bottle can open up new tactical options or help you progress past an otherwise impassable obstacle.
- 1 x Empty Bottle: While seemingly innocuous, an Empty Bottle is a vital crafting vessel. It can be combined with various chemicals found throughout the game to create potent healing elixirs, incendiary grenades, or even more acid. In a game where every resource is precious, an empty vessel represents potential, allowing you to tailor your inventory to your immediate needs.
- 1 x Med Injector: This is arguably the most immediately impactful item in the safe. Med Injectors are premium healing items, often restoring a significant portion of Grace's health instantly. In the heat of battle against a powerful boss or after a series of brutal encounters, a Med Injector can be a lifesaver, allowing you to push forward when other healing options might be insufficient.
These items, especially the Med Injector, exemplify the core tenets of survival horror: resource scarcity and strategic usage. Obtaining them early from the Re9 Monitor Control Room Safe can provide a much-needed buffer against the game's escalating challenges, giving Grace an edge in an unforgiving world.
Don't Miss Out! The Perils of Skipped Safes
A critical detail mentioned in the reference is that "you can miss these safes once you proceed." This is a common design choice in Resident Evil games, encouraging thorough exploration and sometimes, even backtracking. Unlike some modern titles with forgiving fast-travel systems, RE9 might lock you out of certain areas after key story progression points, making previously accessible safes permanently unattainable. This means the resources contained within are gone forever, potentially making later segments of the game significantly harder.
Actionable Advice:
- Explore Every Corner: Make it a habit to meticulously search every room, especially before triggering major story events that might close off paths.
- Check Your Map: If RE9 features a map system that highlights unexplored areas or points of interest, utilize it to ensure no stone is left unturned.
- Prioritize Safes: When you encounter a safe, make it a priority to find its code before moving too far ahead. The immediate benefit outweighs the risk of returning later only to find it inaccessible.
- Resource Management: The items in the Re9 Monitor Control Room Safe are designed to aid your journey. Missing them could force you to rely more heavily on less effective items or put you in situations with fewer healing options, increasing the difficulty naturally.
Conclusion
The Re9 Monitor Control Room Safe is far more than just another optional puzzle in Resident Evil Requiem; it's a strategic checkpoint for any serious player. By understanding its location in the ARK, bravely facing the Lickers to uncover its secrets, and accurately inputting the difficulty-specific codes, Grace can secure a powerful trio of items: a Bottle of Acid, an Empty Bottle, and a crucial Med Injector. These resources are invaluable for navigating the terrifying world of RE9, enabling crafting, healing, and tactical advantages that can mean the difference between life and death. Remember the golden rule of Resident Evil: explore everything, miss nothing, and every locked box is a potential lifeline. Unlock this safe, and you'll be one step closer to surviving the horrors that Resident Evil Requiem throws your way.